

NLR1825 Quartz Sleeve for Type 1 QJ25360DE
NLR1825 Quartz Sleeve for Type 1 QJ25360DE
SKU:QJ25360DE
In stock

All our orders are sent with tracked courier services
Free Customer Support by experts
Product Description
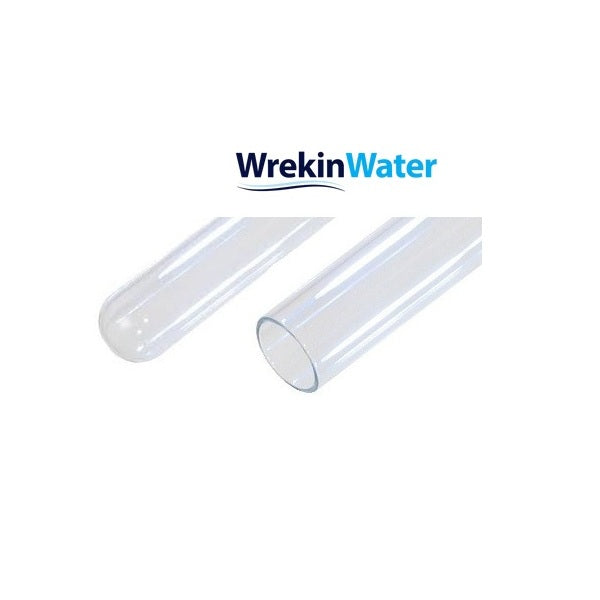
The NLR1825 is a domed-end quartz sleeve made to fit Wedeco Type 1 UV disinfection systems, stocked by WrekinWater under part code QJ25360DE. It surrounds the UV lamp so the lamp stays completely dry while UV-C light still passes through to treat the water. A fresh sleeve is worth fitting whenever the existing one has started to cloud, scale, or otherwise dull with age.
| Compatible system | Wedeco Type 1 UV system |
| End type | Domed end |
| Sleeve material | Fused quartz glass |
| Manufacturer reference | NLR1825 / QJ25360DE |
| Function | Separates lamp from water while passing UV-C light |
| Pack quantity | 1 sleeve |
Signs your quartz sleeve needs replacing
- The sleeve has gone cloudy, hazy, or matte instead of clear.
- You notice a yellow or brown tint building up along the glass.
- Your Wedeco Type 1 controller flags a UV intensity fault despite the lamp lighting normally.
- The sleeve has been in service for roughly a year or more without being changed.
On a Wedeco Type 1 system, the quartz sleeve is what lets the UV lamp do its job without ever touching the water directly. Scale, iron, and general mineral fouling collect on the outer surface over months of use, and the glass itself can dull or micro-scratch from repeated cleaning or age. Even with the lamp lit and drawing current normally, a fouled sleeve blocks enough UV-C that the water may no longer be reliably disinfected.
WrekinWater is a family-run business based in Bettisfield, Shropshire that has supplied UV and water treatment parts to more than 50,000 customers over 15 years. Choosing the NLR1825 from WrekinWater means you get a sleeve matched specifically to the Wedeco Type 1 system, backed by a company rated Excellent on Trustpilot rather than a best-guess generic part.
How to replace it
- Shut off the water supply to the UV chamber and isolate power to the system.
- Undo the retaining nut or union at the end of the housing and slide out the UV lamp first.
- Withdraw the old NLR1825 sleeve and wipe out any scale or debris from inside the housing.
- Fit new O-rings before inserting the replacement domed sleeve into the housing.
- Carefully refit the lamp, then reassemble and tighten the retaining nut or union.
- Turn the water and power back on, check for leaks, and run to drain briefly before drawing water for use.
Technical Resources

NLR1825 Quartz Sleeve for Type 1 QJ25360DE
Frequently asked questions
For full details on returns, refunds, eligibility, and timeframes, please refer to our complete Refund Policy here:
👉 Refund and Returns Policy
If you are unsure whether your item qualifies for return, please contact our team before sending anything back and we’ll be happy to help.
