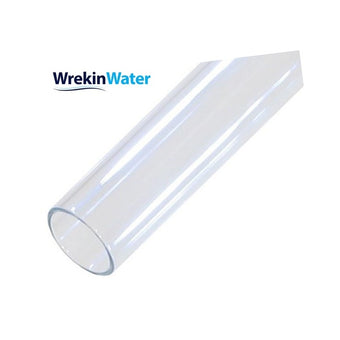
T24530 Open Ended Quartz Sleeve for Wonder Models for model PC-6 (QJ24530)
T24530 Open Ended Quartz Sleeve for Wonder Models for model PC-6 (QJ24530)
SKU:QJ24530

All our orders are sent with tracked courier services
Free Customer Support by experts

Product Description
This open-ended quartz sleeve is the correct replacement for Wonder PC-6 UV disinfection systems, sold by WrekinWater under part code QJ24530. The PC-6 is the mid-size unit in the Wonder PC range, sitting between the PC-3 and PC-8, and its sleeve is sized accordingly. As with all quartz sleeves, it is a consumable that ages even if it is never physically damaged.
| Compatible system | Wonder PC-6 UV disinfection unit |
| End style | Open ended (open at both ends) |
| Material | Fused quartz glass |
| Part code | QJ24530 |
| Position in range | Mid-size Wonder PC sleeve, between PC-3 and PC-8 |
| Pack quantity | 1 sleeve |
Signs your quartz sleeve needs replacing
- You can see scale build-up or fine scratching on the outside of the sleeve.
- The quartz has gone a dull yellow or brown colour instead of staying clear.
- The PC-6's UV monitor is triggering a low-dose warning despite a recently changed lamp.
- It has done roughly a year's service, which is the usual point to renew a PC-6 sleeve.
The quartz sleeve on a PC-6 keeps the lamp isolated from the water passing through the chamber while still letting UV light reach it, since quartz is one of the few materials UV passes through efficiently. As mineral scale and staining build up on the outside of the sleeve, less of that UV light gets through, and disinfection performance drops well before the lamp itself shows any sign of a problem. A PC-6 running on a fouled sleeve can look completely normal on the outside.
WrekinWater has fitted and supplied parts for Wonder UV systems like the PC-6 for years from our Shropshire base, and we list this sleeve against the correct model rather than a vague generic size. With over 50,000 customers served and an Excellent Trustpilot rating, we aim to get you the right part first time.
How to replace it
- Turn off the water supply feeding the PC-6 and isolate power at the mains.
- Release the retaining nut or union on the housing and carefully remove the lamp.
- Slide the old QJ24530 sleeve out of the chamber.
- Clean any residue from inside the housing and fit new O-rings.
- Insert the new sleeve, refit the lamp, and reassemble the housing.
- Turn the water and power back on, then run a short flush to drain before using the water.
Technical Resources

T24530 Open Ended Quartz Sleeve for Wonder Models for model PC-6 (QJ24530)
Frequently asked questions
For full details on returns, refunds, eligibility, and timeframes, please refer to our complete Refund Policy here:
👉 Refund and Returns Policy
If you are unsure whether your item qualifies for return, please contact our team before sending anything back and we’ll be happy to help.