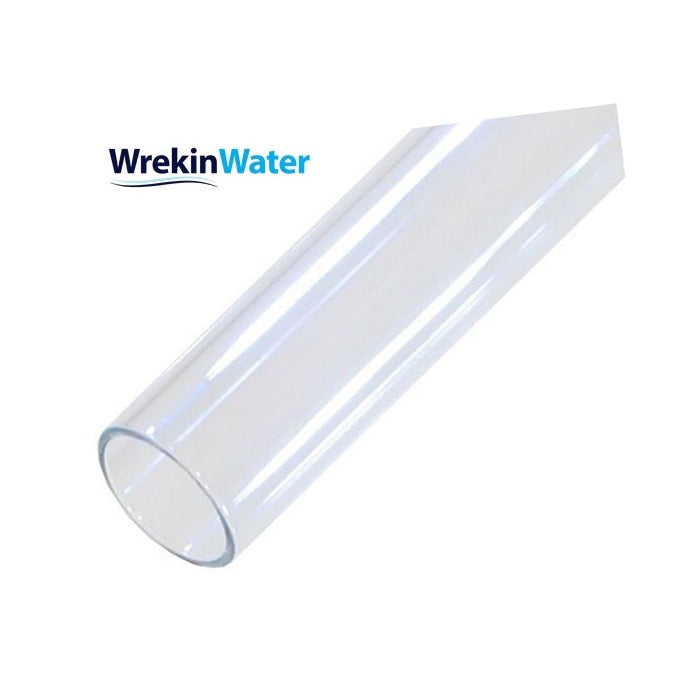
T245680 Open Ended Quartz Sleeve for Wonder Models PC-8 (QJ24680)
T245680 Open Ended Quartz Sleeve for Wonder Models PC-8 (QJ24680)
SKU:QJ24680

All our orders are sent with tracked courier services
Free Customer Support by experts

Product Description
This QJ24680 quartz sleeve is the correct open-ended replacement for the Wonder PC-8, the largest unit in the Wonder PC UV series, supplied by WrekinWater. It fits into the PC-8 chamber in place of the original sleeve and is sized to suit the higher flow rate this model is designed for. Like the smaller PC-3 and PC-6 sleeves, it is a wear item that ages with use.
| Compatible system | Wonder PC-8 UV disinfection unit |
| End style | Open ended (open at both ends) |
| Material | Fused quartz glass |
| Part code | QJ24680 |
| Position in range | Largest capacity Wonder PC sleeve |
| Pack quantity | 1 sleeve |
Signs your quartz sleeve needs replacing
- There is visible scaling, staining or scratching along the length of the sleeve.
- The quartz has taken on a yellow or brownish tint rather than being water-clear.
- The PC-8's UV alarm or monitor is showing a low-intensity fault.
- The sleeve is around 12 months old or older, which is when performance typically starts to fall away.
On the PC-8, the sleeve does the job of keeping process water away from the lamp while still allowing UV light through to treat that water, and because the PC-8 handles a higher flow than the PC-3 or PC-6, a fouled sleeve here affects a larger volume of water per minute. As scale, staining or fine scratches build up on the quartz, UV transmittance drops and disinfection becomes unreliable even though the lamp is lit and appears fine.
WrekinWater stocks this sleeve against the specific PC-8 model rather than a generic listing, drawing on 15 years of supplying UV parts to households and businesses across the UK. We are Excellent-rated on Trustpilot and happy to confirm compatibility before you order if you are at all unsure.
How to replace it
- Isolate the water supply to the PC-8 and switch off the power at the mains.
- Undo the housing union or retaining nut and withdraw the lamp first.
- Remove the old QJ24680 sleeve from the housing.
- Clean the inside of the housing and fit new O-rings before proceeding.
- Insert the new sleeve, refit the lamp, and reassemble the housing securely.
- Restore the water supply and power, then flush the system briefly to drain before drawing water for use.
Technical Resources

T245680 Open Ended Quartz Sleeve for Wonder Models PC-8 (QJ24680)
Frequently asked questions
For full details on returns, refunds, eligibility, and timeframes, please refer to our complete Refund Policy here:
👉 Refund and Returns Policy
If you are unsure whether your item qualifies for return, please contact our team before sending anything back and we’ll be happy to help.